Why Winter-Proofing Your Bike Matters
Riding through fall and winter can be incredibly rewarding — the crisp air, quiet trails, and less traffic make it worth it. But cold weather, moisture, and road salt can take a toll on your bike fast.
Winter proofing your bike keeps it running smoothly, prevents rust, and saves you from costly repairs come spring.
Here is a step-by-step guide to get your bike ready for winter riding:
Step 1: Give Your Bike a Deep Clean
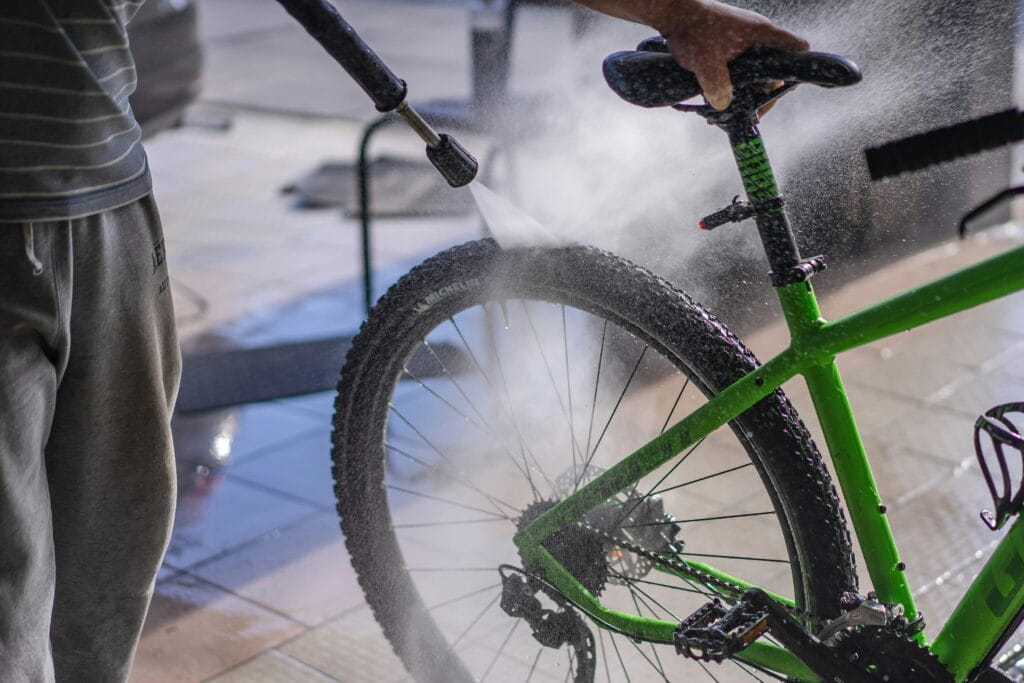
Start fresh before the snow and slush hit.
- Use warm, soapy water to wash off dirt and grease.
- Scrub the drivetrain (chain, cassette, and derailleur) with a brush or old toothbrush.
- Rinse thoroughly but avoid blasting water into bearings.
- Dry completely using a towel — moisture is the enemy.
💡 Tip: A biodegradable bike cleaner works better than dish soap and protects paint and seals.
Step 2: Lube and Protect Moving Parts

Winter conditions demand thicker, longer-lasting lubrication.
- Use wet lube on your chain — it sticks better in wet weather.
- Wipe off any excess to prevent grime buildup.
- Add a drop of lube to derailleur pivots and cables if they’re exposed.
- Lightly spray silicone or frame protectant on metal parts to prevent corrosion.
⚙️ Avoid getting lubricant on your rims or brake rotors — it’ll ruin your braking power.
Step 3: Check Tires and Pressure
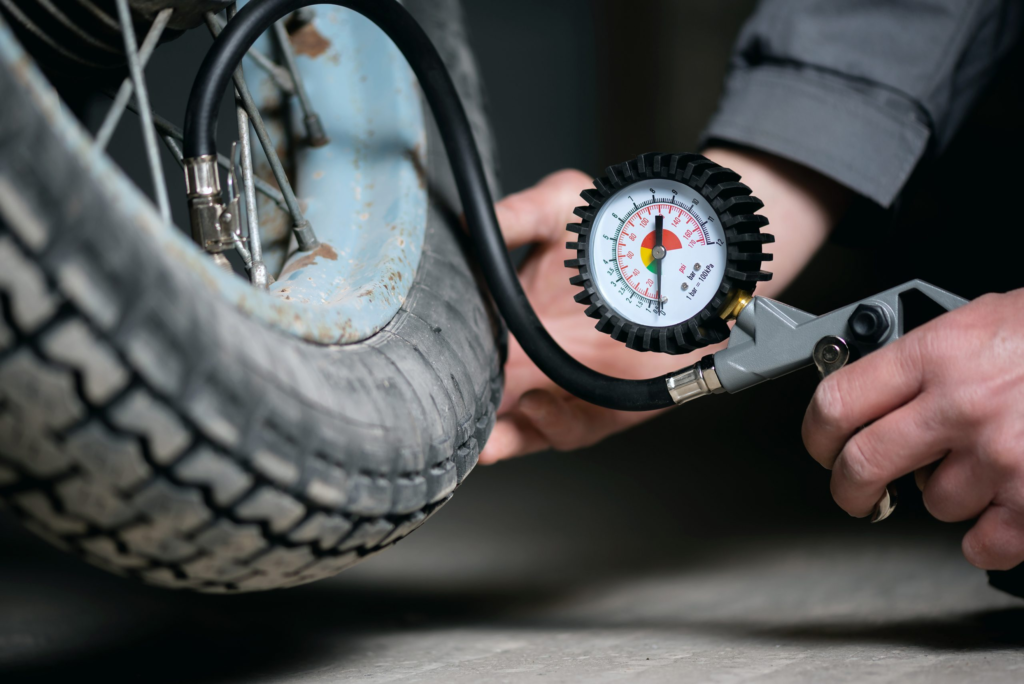
Cold air makes tire pressure drop. Lower your pressure slightly for better traction and comfort.
- Road bikes: 75–90 PSI
- Hybrid bikes: 50–70 PSI
- Mountain/fat bikes: 20–30 PSI
*If you’ll be riding on icy roads, consider winter or studded tires. They grip much better and keep you upright on slick patches*
Step 4: Inspect Brakes and Cables
Braking power decreases in wet, cold conditions.
- Check brake pads — replace if they’re hard or worn.
- Clean your rotors with rubbing alcohol.
- Inspect cables and housing for fraying or rust.
- If you have hydraulic brakes, top off the fluid if needed.
🧊 Pro tip: Switch to sintered metal pads for winter — they last longer and handle moisture better.
Step 5: Protect Your Battery (for e-Bikes)
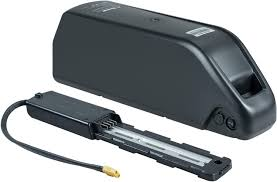
If you ride an E-Bike, your battery needs extra care:
- Expect reduced range batteries lose capacity in the cold.
- Avoid Charging it in freezing temeratures
- Store it indoors when not in use.
- Wipe contacts clean regularly.
Step 6: Add Lights and Visibility Gear

With shorter days, good lighting is essential.
- Use a bright front light (at least 400 lumens).
- Rear red light for visibility.
- Add reflective tape to fenders, wheels, or your jacket.
💡 Rechargeable USB lights are great — easy to remove and charge overnight.
Step 7: Finish with a Quick Safety Check
Before calling it done, check:
- Bolts are tight
- Tires are properly inflated
- Gears shift smoothly
- Brakes bite firmly
Do a short test ride and listen for any grinding or squeaking — a sign you need a bit more cleaning or lube.
Final Thoughts
Winter-proofing your bike takes a little effort, but it pays off big. A clean, protected bike rides better, lasts longer, and keeps you safe when the weather turns harsh.
Spend an hour or two getting everything ready now, and you’ll enjoy every cold-weather ride with confidence.